A Beginner’s Guide to Saddle Stitching in Leatherwork
Saddle stitching is one of the most fundamental skills in leatherwork, used in everything from saddles and bridles to wallets and belts. Known for its strength and durability, this hand-sewing technique creates a professional and long-lasting finish that far surpasses machine stitching in many applications.
Whether you’re an aspiring leatherworker or looking to refine your skills, this guide will walk you through the basics of saddle stitching, the tools you’ll need, and step-by-step instructions to get started.
Why Use Saddle Stitch?
Saddle stitching is a traditional two-needle sewing method that creates a strong, even stitch by interlocking two threads within the leather. Unlike machine stitching, where a single thread loops around itself, saddle stitching ensures that even if one stitch breaks, the rest remain intact—making it the preferred method for high-quality leather goods.
Key Benefits of Saddle Stitching:
- Safety, strength and durability; each stitch is independent and stronger than a machine stitch, reducing the risk of unraveling.
- Aesthetic appeal; creates a clean, professional finish.
- Flexibility; adapts well to different thicknesses and types of leather.
- Traditional craftsmanship; the mark of a skilled leatherworker.
Essential Tools for Saddle Stitching
Before you begin, in addition to the necessary basic set of key tools for leatherwork, you’ll need a few key tools:
1. Leather Stitching Needles (Harness)
Blunt, round-point harness needles (in various sizes) are ideal for saddle stitching. They should be strong enough to pull the thread through pre-punched holes without piercing or cutting the thread going through the leather.
2. Thread (linen) and Wax
By waxing thread (beeswax), the waxed thread becomes increasingly resistant to rot which can occur when using natural fibre thread like linen. It also helps to provides durability and grip, preventing fraying and making it easier to pull through the holes. Common materials include traditional linen or other synthetic mixes such as polyester, nylon, and linen. It is worth noting that some threads and colours can come pre-waxed.
3. Stitching Awl and Pricking Iron (stitch marker)
These tools help create evenly spaced indent and position for the holes that the thread will go through. A pricking iron marks the stitch spacing, while a stitching awl makes or punches the holes before stitching.
4. Stitching Clamp or Stitching Pony
A stitching clamp (or pony) holds the leather in place, freeing up your hands to focus on hand stitching, threading and pulling the needles through the leather.
5. Ruler (metal), Scratch Awl, Set Square and Wing Dividers
For precise stitching lines, use a ruler to position stitch marking/stitching. Using a set square can help keep everything aligned together. Scratch awl marks position, distance and/or length of stitching. Finally, wing dividers to mark an even distance from the edge of the leather between the positioned, indicated marked areas.
6. Thread Snips or Lighter
Snips are using for finishing off thread ends cleanly. A lighter can help seal synthetic threads, preventing fraying.
How to Saddle Stitch: A Step-by-Step Guide
Step 1: Mark/Stitch Mark and Punch/Make Stitching Holes
- Use a wing divider at indicated positions/marks to mark a consistent stitching line along the edge of your leather.
- Use a pricking iron/stitch marker along the wing divider line to mark stitch spacing.
- Punch/Make holes with a stitching awl.
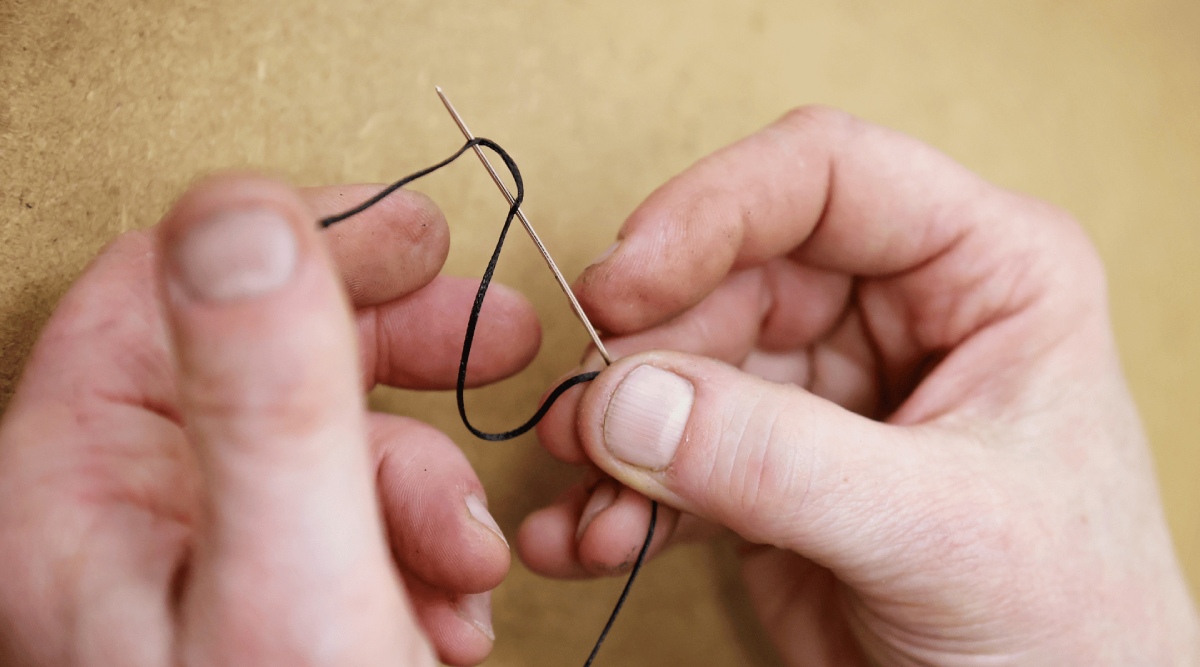
Step 2: Thread the Needles
- Cut a length of waxed thread about four times the length of your stitch line Note length can also be dependent on the substance to be stitched.
- Thread needle on each end of the thread and pull equal amounts through both sides and split/lock thread onto needle/s.
Step 3: Begin Stitching
- Use the stitching awl and pierce the 1st hole and insert one needle guided by the awl through this first hole from the back side, Note if making backstitch/es start in the 2nd or 3rd stitch mark.
- Pull the thread halfway through to level up thread/needles, so both needles have equal lengths of thread.
- Insert the second needle into the same hole from the opposite side (Front), Note above the needle coming from the back.
- Throw the thread at the back (side) over the needle coming from the front, the threads will be crossing over inside the leather and ensuring the correct pitch of stitch/ing.
- Pull both needles tight, ensuring the stitch lies flat and that also correct pitch have been achieved.
Step 4: Continue the Stitch Pattern
- Repeat the process above, moving to the next hole, always threading one needle from the back and one from the front with the same technique and sequencing as above.
- Maintain consistent tension to create an even and uniform stitch pattern and pitch.
Step 5: Finishing the Stitch
- When you reach the end, backstitch one and a half or two and a half stitches, for extra security and strength. Note both threads finish at the back.
- Trim the excess thread close to the surface and use a lighter or beeswax to seal the ends.
Tips for Perfect Saddle Stitching
- Keep your technique, sequencing and stitches consistent in size and tension.
- Use sharp tools to ensure clean cuts, precise holes etc.
- Work on quality leather—firmer leather is easier to stitch cleanly.
- Practice on scrap leather before starting a full project.
Learn Saddle Stitching at Walsall Leather Skills Centre
If you’re eager to develop your leatherworking skills, our courses at Walsall Leather Skills Centre provide hands-on training with expert instructors. Whether you’re a beginner or an experienced artisan, we offer workshops tailored to your skill level.
Join Our Courses
Want to learn from the best? Check out our upcoming leatherwork courses, where you’ll get hands-on experience with traditional techniques like saddle stitching.


